When it comes to maintaining the beauty of your tiled surfaces, grout is an essential part of the equation. Without regular upkeep, tile grout can become discolored and stained, detracting from the overall aesthetic and making a room look less than its best.
Fortunately, with some simple tools and techniques you can keep your tiles looking like new!
This DIY guide will walk you through everything you need to know about keeping pristine tile grout in your home – no professional help required!
Applying the Cleaner
When it comes to keeping tile grout clean and pristine, applying the cleaner is an essential step. Whether youre using a store-bought solution or making your own with natural ingredients, the application process is key. To ensure that the cleaner reaches all of the nooks and crannies in your tile grout, start by pouring some on a clean rag.
Wring out any excess liquid before applying it directly to the grout lines between tiles. As you apply pressure with your cloth, make sure to go over each line several times for thorough coverage of product.
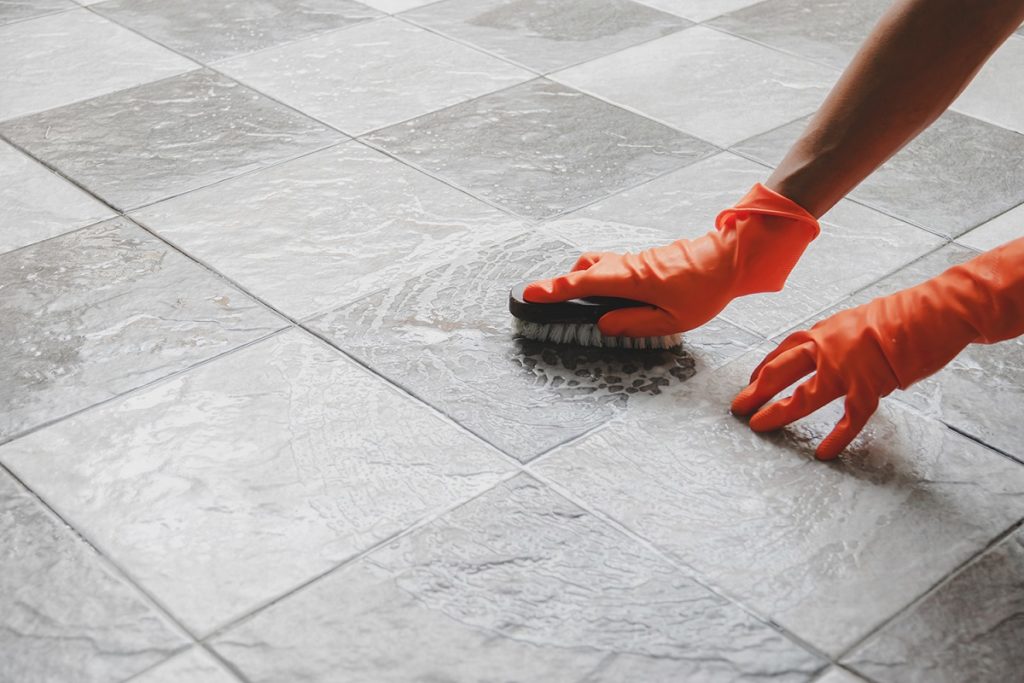
If possible use circular motions to help scrub away dirt and debris while also pushing cleaner further into crevices. Once finished, wait up to two minutes for deep cleaning results before wiping away any remaining residue with a damp towel or mop head.
With this easy technique, tile grout can look like new in no time!
Rinsing and Drying
When it comes to tile grout, rinsing and drying are essential tasks for keeping the area clean. After using a cleaning solution or scrubbing brush on the grout, rinse away all residue with warm water to ensure that no chemicals remain behind.
Next, dry your tiles thoroughly with a soft towel or cloth. This will help prevent any future build up of dirt and bacteria in the grout lines – ensuring pristine results each time! Remember to be gentle when wiping down tiles so as not to damage them or disrupt their finish.
With these simple steps you can keep your tile grout looking its best day after day!

Sealing to Protect Grout
The importance of sealing your tile grout cannot be overstated. Sealing helps protect the grout from dirt, spills and stains that are part of everyday life.
It also prevents water damage which can cause costly repairs if left untreated for too long. Plus, it gives your tiled surfaces an extra layer of protection against mold and mildew buildup while making cleaning up messes easier than ever before.
With a few easy steps you can make sure that your tile grout is sealed properly to keep it looking pristine for years to come. First, clean any existing residue off the surface with a damp cloth or sponge and allow time for the surface to dry completely before applying sealant.
When selecting a sealer, look for one specifically designed for use on tile; not all sealants are created equal! Once you have purchased your chosen product, read the instructions carefully so that you know exactly how much product to use and where to apply it on each area of grout.
After application let stand at least 24 hours before getting wet again – this will give plenty of time for the sealant to set fully into place.
Finally step back and admire how protected your newly sealed grout looks! Sealing tiles may seem like an intimidating task but with just a little bit of effort you can ensure long lasting protection against dirt, spills and stains as well as water damage in order to keep any tiled area looking great over its lifetime!
Conclusion

Tile and grout cleaning is an important part of keeping your home looking beautiful. This DIY guide provides all the necessary everyday essentials for pristine tile grout, including the right tools, materials, and techniques to help you achieve a professional-looking clean that will last for years to come.
With these helpful tips at your fingertips, you can easily keep your tiled surfaces sparkling year after year.